Key takeaways
- A modern phone is enough for ad photos. Light, background and composition matter far more than the camera.
- Shoot near a large window with soft, indirect light, and use a white board to fill shadows.
- You need both packshots (the product alone, clean) and lifestyle shots (the product in use, in context).
- Shoot for 4:5 and 9:16 from the start, leaving space around the product for cropping and text.
- AI editing can change backgrounds and extend frames, but it can't fix a blurry, badly lit or distorted product. Keep the real product accurate.
You can shoot ad-ready product photos on a modern phone. What stops the scroll is soft, directional light, a clean or meaningful background, a clear subject and the right crop for each placement, not an expensive camera. Shoot clean packshots and lifestyle shots, frame them for 4:5 and 9:16, and use AI editing for backgrounds and resizing, never to change the product itself.
Do you need a professional camera for product ad photos?
No. For Facebook and Instagram ads, a recent phone camera produces more than enough resolution. Ads are seen on phone screens, at a size where lighting, composition and clarity matter far more than sensor size.
What a professional photographer brings is skill with light, styling and composition. You can learn the basics of all three in an afternoon. A professional shoot is still worth it for hero images, complex products such as reflective jewellery or glassware, and campaigns where polish is part of the brand. For everyday testing, phone photos you can make quickly are often more valuable than a few perfect shots you can't replace.
What equipment do you actually need?
A short list, most of it cheap or free:
| Item | Why | Budget option |
|---|---|---|
| Phone with a clean lens | Your camera | Wipe the lens before every shoot |
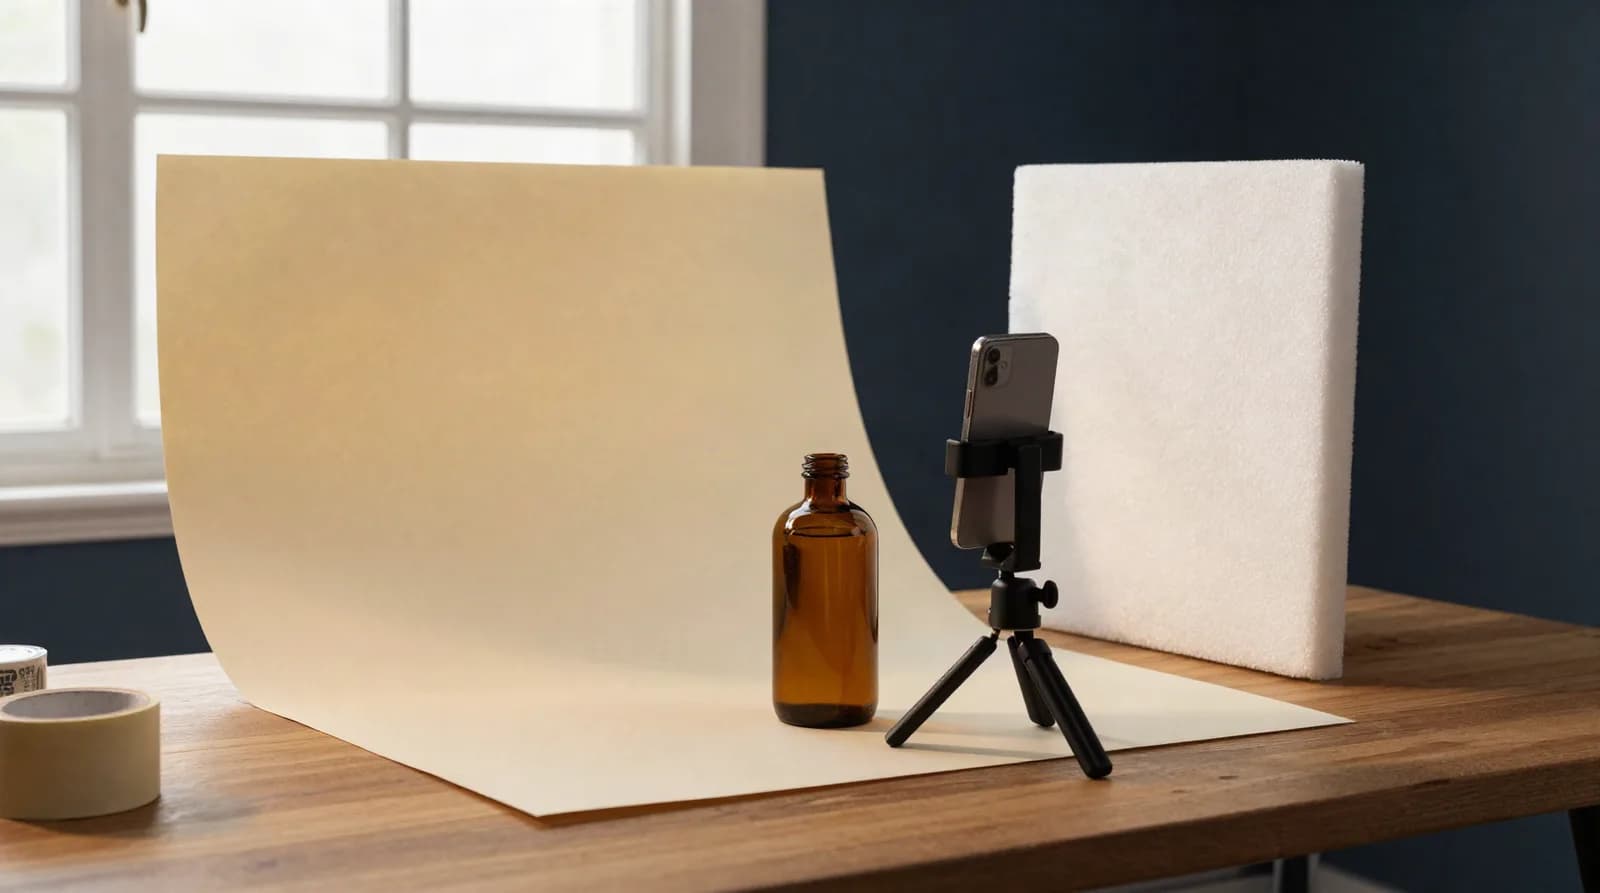
| A large window | Soft, natural light | Any north-facing or shaded window |
| White foam board or card | Bounces light into shadows | A white sheet of card from a stationery shop |
| Black card | Adds contrast and defines edges | Black paper |
| Seamless background | Clean packshots | A roll of paper or a curved sheet of card |
| Small tripod or phone clamp | Sharp images, consistent framing | A stack of books |
| Tape, putty, clips | Holding products in place | Anything to hand |
| Props | Lifestyle context | Things you already own |
How do you light product photos on a phone?
Light is the single biggest difference between an amateur photo and an ad-ready one.
- Use a large, soft source. A big window with indirect daylight is ideal. Avoid direct sun, which creates hard shadows and blown highlights, unless you want a deliberately sunny lifestyle look.
- Light from the side. Place the product so the window is to one side, not behind you. Side light shows texture and shape.
- Fill the shadows. Hold a white board on the opposite side to bounce light back into the shadow side. Move it closer for a brighter, flatter look and further away for more contrast.
- Turn off mixed light. Switch off room lights when shooting by a window. Mixing warm bulbs with daylight gives muddy colours.
- Lock focus and exposure. On most phones you can tap and hold on the product to lock both, then slide exposure down slightly to keep highlights from clipping.
- Avoid the flash. The built-in flash flattens products and creates harsh reflections.
Tricky surfaces
- Glass and liquids: light from behind or the side so the light passes through. A white card behind a bottle makes the liquid glow.
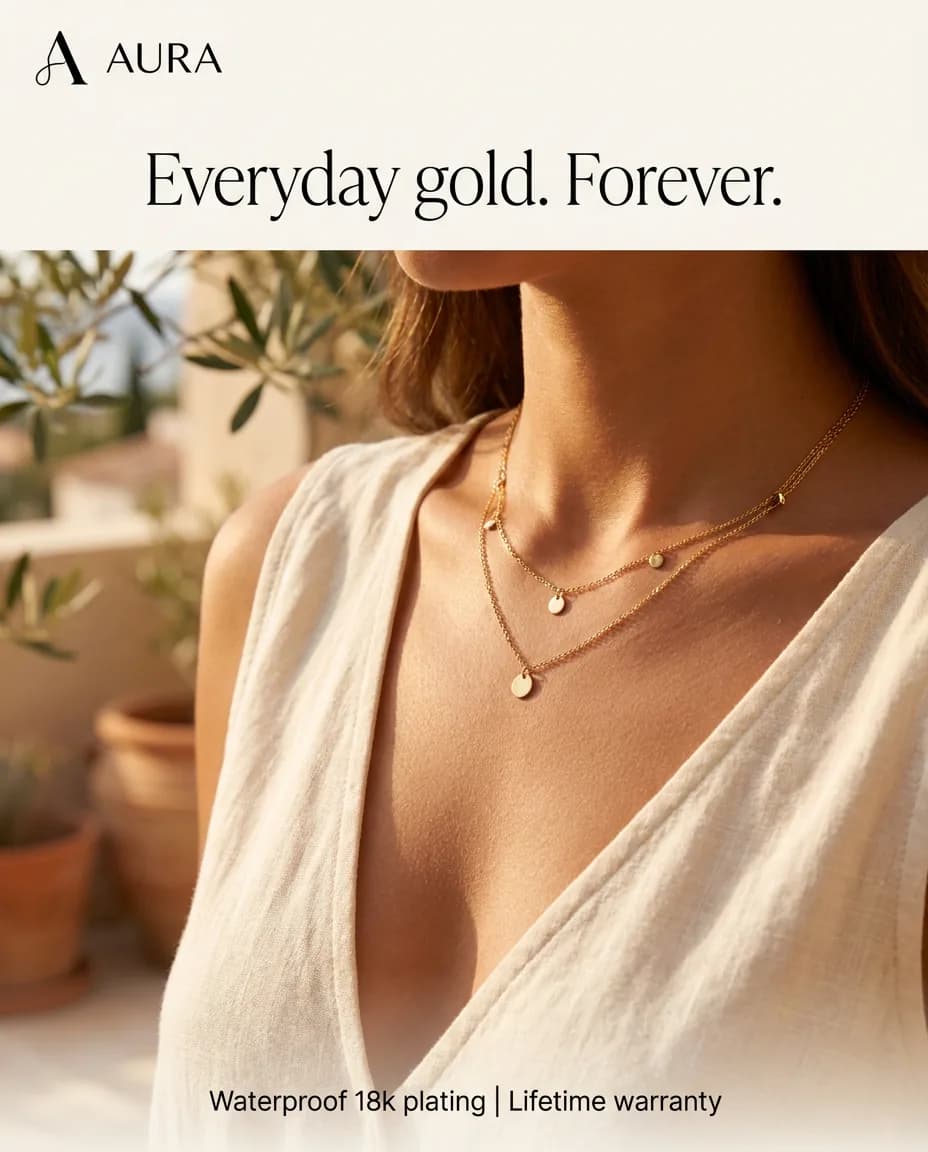
- Shiny metal and jewellery: reflections show everything. Surround the product with white card and shoot through a gap. Black card can add a defining edge line.
- Matte packaging: the easiest. Side light and a fill card are enough.
- Fabric and clothing: side light shows texture. Steam out creases first.
What backgrounds work best for ad photos?
It depends on the job of the photo.
| Background | Best for | Notes |
|---|---|---|
| Plain white or light grey | Packshots, catalogs, marketplaces | Clean and easy to cut out later |
| Solid brand colour | Feed ads, offers, launches | Strong in the feed, consistent with your brand |
| Textured surface | Premium, natural and craft products | Wood, stone, linen, paper |
| Real setting | Lifestyle shots | A kitchen counter, a bathroom shelf, a desk, outdoors |
| Contrast colour | Pattern interrupts | A colour that clashes with the feed around it |
Keep backgrounds simple enough that the product is the first thing the eye lands on. Busy patterns and clutter compete with the product at phone size.
Packshot or lifestyle: which do you need?
Both. They do different jobs.
A packshot is the product alone on a clean background, sharply lit and accurately coloured. It answers "what exactly am I buying?" Packshots are what your catalog, product pages and marketplaces need, and they're the raw material for most edits.
A lifestyle shot shows the product in use or in context: the serum on a bathroom shelf in morning light, the jacket on someone walking down a street, the mug in a hand next to a laptop. It answers "how would this fit into my life?"
| Packshot | Lifestyle | |
|---|---|---|
| Main job | Accuracy, clarity | Desire, context, scale |
| Best for | Catalog ads, retargeting, offers | Prospecting, brand building |
| Background | Plain or solid colour | Real setting |
| People | None | Often hands or a person |
| Difficulty | Low | Medium |
| Replaceable by AI scene editing | It is the input | Partly, see below |
A useful starting set for each product: four to six packshots (front, angle, side, back, detail, scale) and six to ten lifestyle shots in two or three different settings.
How should you compose a product photo for an ad?
Ads are seen small and fast, so composition needs to be bold and simple.
- Fill the frame. The product should take up a large part of the image. Tiny products in big scenes disappear at phone size.
- One subject. If you show several products, make one clearly the hero.
- Leave space for text. Keep an area of calm background, usually at the top or one side, where a headline or offer could sit.
- Show scale. A hand, a familiar object or a person helps viewers judge size, which reduces disappointment and returns.
- Shoot at product height. Many products look best shot straight on or from slightly above, not from standing height looking down.
- Hands and faces stop the scroll. People notice people. A hand holding, opening or applying the product adds life.
- Shoot several angles of each setup. It costs nothing and gives you variants for testing.
What sizes do Meta ad photos need?
Shoot with the crops in mind so you don't lose the product when an image is resized.
| Placement | Recommended ratio | Common size |
|---|---|---|
| Feed (Facebook and Instagram) | 4:5 | 1080 × 1350 |
| Reels and Stories | 9:16 | 1080 × 1920 |
| Square (catalog, some feeds, carousel) | 1:1 | 1080 × 1080 |
| Right column and some others | 1.91:1 | 1200 × 628 |
The Meta ad sizes guide has the full list and the safe zones for Reels and Stories.
The practical rule: shoot wider than you need, with the product centred and space around it. A vertical phone photo with room above and below can be cropped to 4:5, 1:1 and 9:16 without cutting off the product. In Reels and Stories, keep the product and any text away from the top and bottom of the frame, where the interface overlays sit.
How do you turn a photo into an ad?
A good photo is the raw material. To become an ad, it needs a reason to stop and a reason to click.
- Pick the angle. What is this image selling: a result, an ingredient, a price, a gift? The ad angles library has 48 to choose from.
- Choose the photo that best shows that angle. A texture close-up for an ingredient angle, a lifestyle shot for an outcome angle.
- Add one short line, if any. A headline, a review quote or the offer. Keep it large and readable at phone size.
- Keep branding light. A small logo or brand colour is enough. The product should be the star.
- Make variants. The same photo with three different lines, or three photos with the same line, gives you something to test.
- Check it at phone size. Look at the finished ad on a phone at arm's length. If the product or line isn't clear in a second, simplify.
What can AI editing fix, and what can't it?
AI image tools have become genuinely useful for product ads, including Meta's own generative features in Ads Manager, which at the time of writing in most accounts can generate background variations and expand images to fit other aspect ratios. They are good at some jobs and bad at others.
What AI editing does well
- Replacing backgrounds: putting a clean packshot into a kitchen, a bathroom, a beach or a seasonal scene.
- Extending the frame: turning a square photo into a 9:16 one by generating more background around it.
- Removing distractions: dust, small marks, a stray cable, a reflection of your phone.
- Matching light and shadows between a product and a new scene, when the original photo is well lit.
- Making many variants quickly for testing different settings and moods.
What AI editing can't fix
- A blurry or noisy original. Sharpening can help a little, but detail that was never captured can't be recovered reliably. Upscalers may invent it.
- Bad light on the product itself. A new background won't hide a product lit harshly from the wrong side.
- Distorted shapes. Wide-angle close-ups bend products. Step back and zoom in slightly instead.
- Wrong colours. If the product's colour is off in the original, edits often carry the error. Get colour right in the shot.
What AI editing shouldn't do
- Change the product. Labels, logos, shape, colour, size and texture must stay exactly as the customer will receive them. Some AI tools redraw products and subtly change text on labels, proportions or details. That misleads buyers, raises returns and complaints, and can breach consumer law and Meta's advertising standards.
- Fake results. Generated before-and-after images or exaggerated effects are misleading, and some categories restrict before-and-after imagery entirely.
- Invent features. If the AI adds a pocket, a pump or a texture that doesn't exist, the image must not be used.
The safest approach is compositing: keep your real product photo as a fixed layer and change only what's around it. This is how Fly ROAS builds ads: your real packshot is placed into a new scene so the label, shape and colours stay exactly as your customer will receive them. The AI ad generators guide covers what to check in any tool.
How many product photos do you need for testing?
Enough to keep a steady supply of fresh creative. A practical approach for a small brand:
- One shoot per product per quarter, covering packshots and two or three lifestyle settings.
- A seasonal shoot before your biggest sales periods.
- Customer photos, with permission, as an extra source of authentic lifestyle images.
- AI-composited scenes from your packshots, to multiply settings between shoots.
Feed new images into a structured test. The creative testing framework shows how to judge them, and the guide to static vs video ads helps you decide when a photo should become a video.
Product photo checklist
- Lens wiped, flash off, room lights off
- Soft side light from a window, white card filling shadows
- Focus and exposure locked on the product
- Packshots: front, angle, side, back, detail, scale
- Lifestyle shots in at least two settings, with hands or people
- Space around the product for 4:5, 1:1 and 9:16 crops
- Colours checked against the real product
- Any AI edit leaves the product itself unchanged
Good light, honest product
Scroll-stopping product ads don't need a studio. They need soft light, a clear subject, a crop that suits the placement and a reason to buy. Shoot plenty of honest photos, keep the real product accurate in every edit, and let testing tell you which ones earn the budget.
Frequently asked questions
Can I use phone photos for Facebook and Instagram ads?
Yes. A recent phone camera has more than enough resolution for Meta ads, which are viewed mainly on phone screens. Soft lighting, a clean background, sharp focus and the right crop matter much more than the camera.
What is the best size for product photos in Meta ads?
Use 4:5 (1080 × 1350) for Feed, 9:16 (1080 × 1920) for Reels and Stories, and 1:1 (1080 × 1080) for catalog and square placements. Shoot vertically with space around the product so one photo can be cropped to all three.
Are lifestyle photos better than packshots for ads?
They do different jobs. Lifestyle photos often work better for prospecting because they show context and desire, while packshots work well for catalog ads, offers and retargeting because they show exactly what someone is buying. Most brands need both.
Can AI fix bad product photos?
AI can replace backgrounds, extend frames and remove small distractions, but it can't reliably fix a blurry, badly lit or distorted product. Get the product shot right first, and make sure any AI edit leaves the product's label, shape and colours unchanged.
How do I photograph shiny or reflective products?
Surround the product with white card to control reflections, shoot through a small gap, and use black card to add defining edges. Avoid the phone flash. For glass and liquids, light from behind or the side so the light passes through the product.